Why a Pre-Drive Check Belongs in Every Driver's Routine
Most drivers perform some version of a pre-drive check without realizing it - glancing at mirrors, buckling the seatbelt, adjusting the seat. The difference between an informal habit and a reliable safety routine is consistency and completeness. A structured check takes less time than finding a parking spot, and it addresses the most common mechanical and situational factors that contribute to preventable crashes.
This checklist is organized into four logical phases: exterior inspection, interior setup, instrument check, and situational awareness before moving. Whether you're heading out for a daily commute or a longer trip, the same fundamentals apply. For guidance on what to verify before a long-distance drive specifically, see our pre-road-trip vehicle inspection checklist.
Don't Skip the Check on Short Trips
A large proportion of vehicle crashes occur within a few miles of the driver's home - precisely because short trips breed complacency. Tire blowouts, brake failures, and visibility issues don't respect distance. Keeping the same routine for a five-minute errand as for a highway drive is the point of building a habit.
What You'll Need
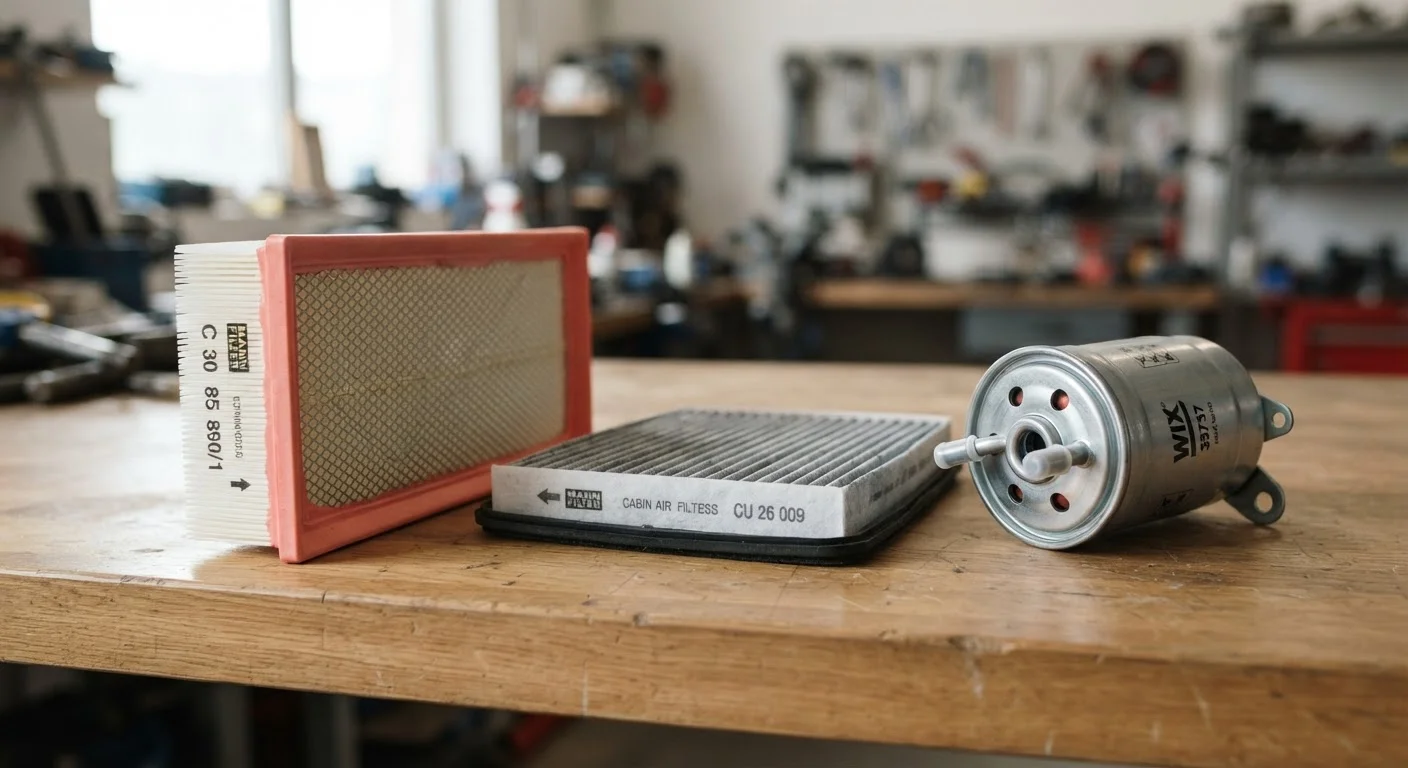
No special equipment is required for most of these checks. A few inexpensive tools make the exterior portion faster and more accurate.
Tire pressure gauge
Accurately measures tire inflation so you can verify pressure matches your vehicle's recommended PSI (found on the driver's door jamb sticker).
Flashlight or phone torch
Helps inspect tires, undercarriage, and lights in low-light conditions or parking garages.
Windshield washer fluid
Keeps washer fluid topped up so your wipers can clear road grime and improve visibility.
The Full Pre-Drive Checklist
Work through these groups in order for the most efficient flow - exterior first, then interior, then instruments, then situational awareness as you prepare to pull out.
Exterior Inspection
Interior Setup
Instrument and Control Check
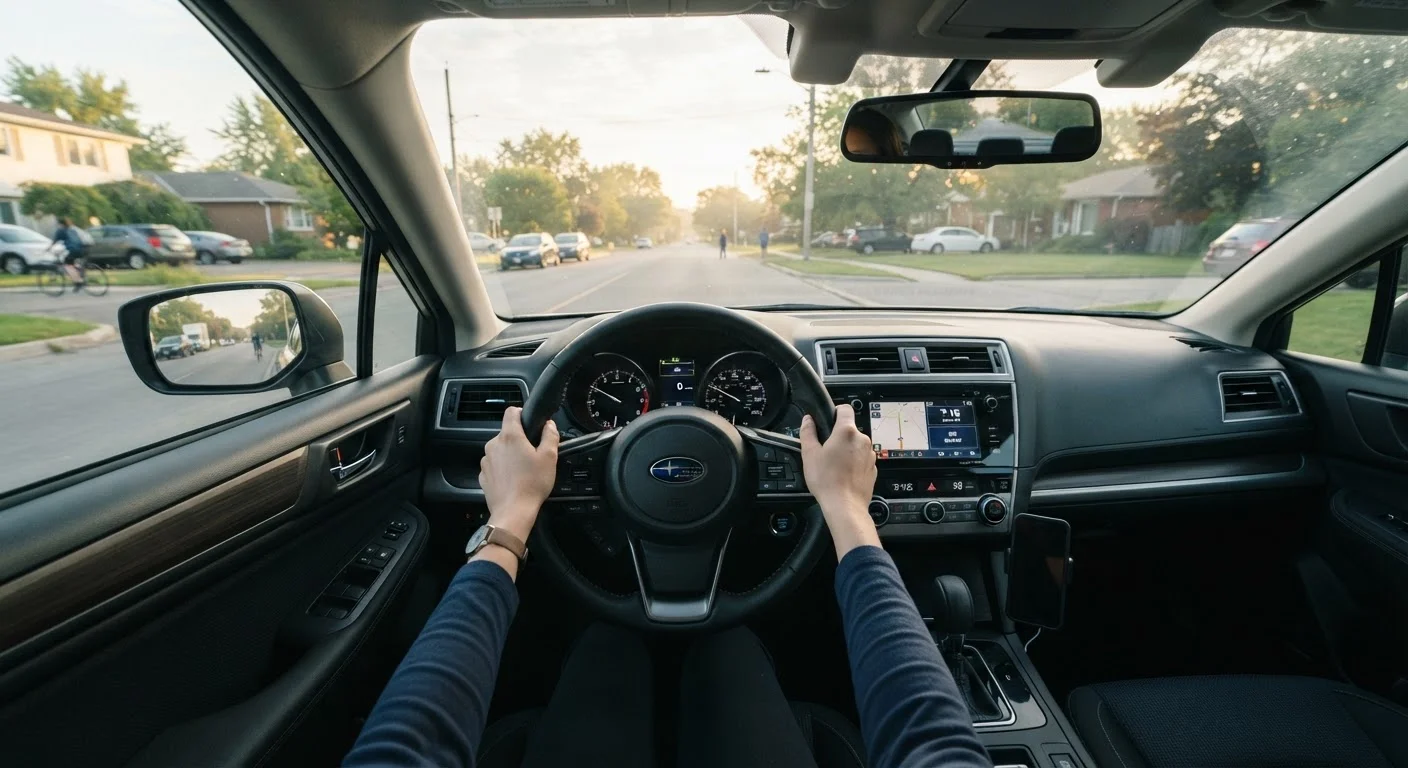
Situational Awareness Before Moving
Warning Lights On? Don't Drive Until You Know Why
If a warning light - particularly the check engine, brake system, or oil pressure light - is illuminated after startup, do not assume it's safe to drive. Some lights indicate conditions that can cause sudden mechanical failure or loss of vehicle control. Identify the warning before proceeding, and consult a qualified mechanic if you're unsure.
If you notice any dashboard warning light you don't recognize, our guide to dashboard warning lights explains what each symbol means and which ones require immediate attention before driving.
Building the Habit Over Time
The goal is to make these checks automatic - not a stressful mental checklist you recite each morning. New drivers are in the best position to build this into muscle memory from the start. See our new driver's complete introduction to road safety for the broader habits that support this kind of routine.
Experienced drivers sometimes let familiarity erode vigilance. If something about your vehicle seems different - a new sound, a pulling sensation when braking, a warning light that appeared and disappeared - don't dismiss it. Our article on signals your car gives before something goes seriously wrong explains what early warning signs look like and when to act on them.
Weather conditions add another layer to every pre-drive check. Rain, ice, or fog change how your vehicle behaves and how much stopping distance you need. Pair this checklist with the habits described in driving in bad weather when conditions aren't ideal. For the deliberate skills that separate careful drivers from average ones, safe driving habits experienced drivers build over time is worth reading alongside this checklist.