Why a Guest Network Is Worth Setting Up
Every time a visitor connects to your main Wi-Fi, they're on the same network as your laptops, smart TVs, security cameras, and any shared storage. Most guests have no bad intentions, but devices carry malware without their owners knowing — and a single infected phone can probe every device on the same network.
A guest network sidesteps that problem entirely. It gives visitors a working internet connection while keeping your primary network off-limits. It's one of the most practical steps you can take to improve home network security without buying any new hardware. For a broader look at protecting your home Wi-Fi, see our home network security audit checklist.
Never Share Your Main Network Password
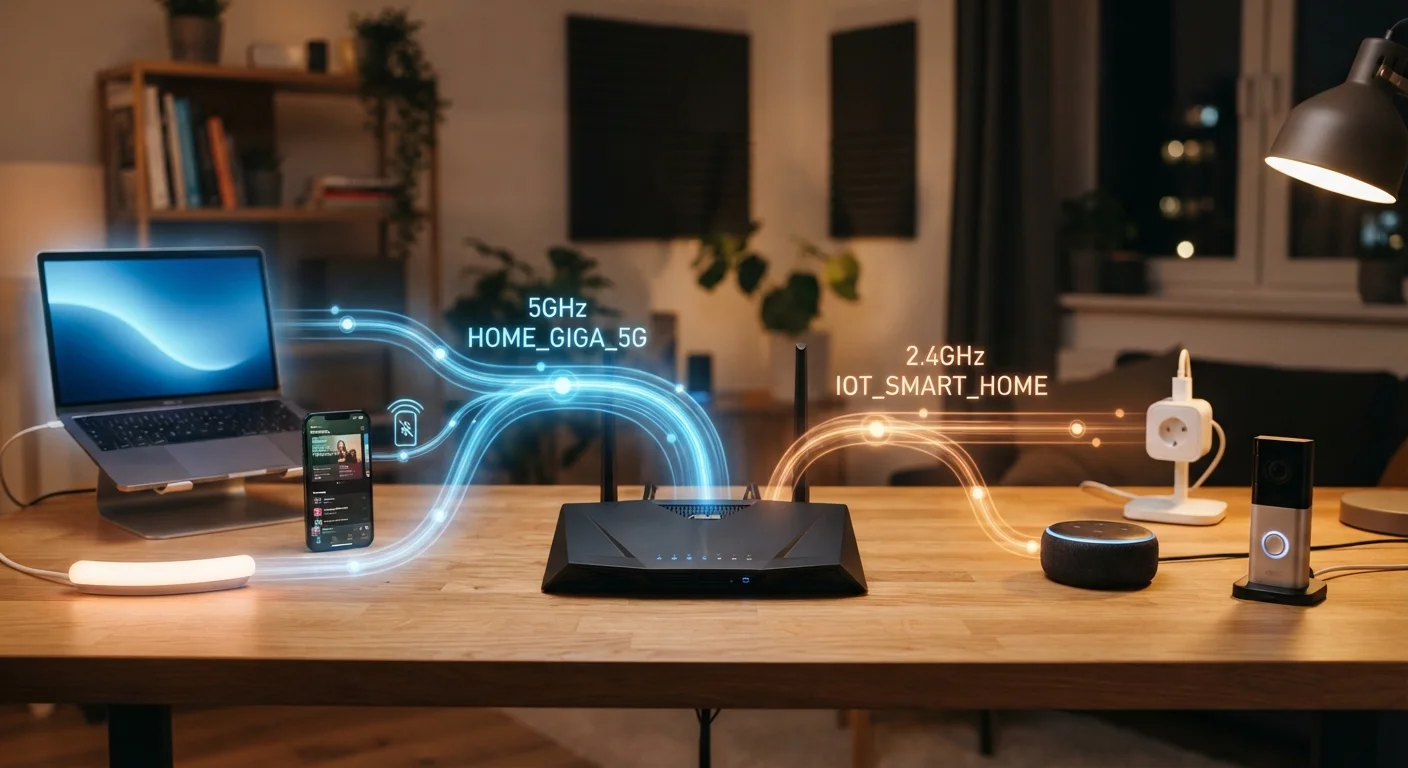
When guests use your primary Wi-Fi, they can potentially see other devices on your network — including smart home gear, computers, and shared drives. A guest network eliminates this risk by keeping visitor traffic on a completely separate lane. Think of it as handing someone a key to the lobby, not to your apartment.
Beyond security, a guest network also helps with performance. If you have visitors streaming video or downloading large files, their traffic stays separate from your primary devices. If bandwidth slowdowns are already an issue, our article on what's actually slowing down your home network explains which habits and devices consume the most.
What You'll Need Before You Start
Before diving into settings, confirm that your router supports guest networking. Most routers manufactured in the past several years include this feature, but older or budget models may not. Check your router's manual or the manufacturer's website if you're unsure.
What you will need
Check Firmware Before You Start
Outdated router firmware can cause the guest network feature to behave unexpectedly or not appear at all. Before diving into settings, check your router manufacturer's app or admin panel for available firmware updates and install them first. This only takes a few minutes and can prevent unnecessary troubleshooting.
If you're using a mesh Wi-Fi system rather than a traditional router, the guest network option is typically available in the system's app. The setup flow is slightly different but follows the same logic. If you're weighing whether to switch to a mesh system, our comparison of mesh Wi-Fi vs. traditional routers covers the key differences.
Step-by-Step Setup Instructions
Follow these steps in order. The exact menu names will vary slightly by router brand, but the overall process is consistent across most consumer routers and mesh systems.
Log into your router's admin panel
Open a web browser on a device connected to your home network. Type your router's IP address into the address bar — commonly 192.168.1.1 or 192.168.0.1. If neither works, check the label on the bottom or back of your router. Enter your admin username and password when prompted.
Find the Guest Network settings
Once logged in, look for a section labeled Guest Network, Guest Wi-Fi, or something similar. It may be nested under Wireless or Advanced Settings depending on your router brand. If your router has a companion app, the Guest Network option is often prominently featured on the home screen.
Enable the guest network
Toggle the guest network on. You'll be prompted to assign it a network name (called an SSID) — choose something distinct from your main network name so guests can easily find it. Avoid using your full name or address in the SSID, as these broadcast identifiable information.
Set a strong, unique password
Create a password that is at least 12 characters long and includes a mix of letters, numbers, and symbols. Do not reuse your main Wi-Fi password. Write the guest password down somewhere accessible so you can share it easily — a sticky note near the router works, or a note in your phone.
Enable network isolation (client isolation)
Look for an option labeled Network Isolation, Client Isolation, or AP Isolation. Turning this on prevents guest devices from communicating with each other or with devices on your primary network. This is the most important security setting for a guest network — make sure it's enabled.
Save settings and test the network
Click Save or Apply to activate your changes. The router may briefly restart. Use a phone or tablet to search for the new guest network name, connect with the password you set, and verify that internet access works correctly.
Once everything is confirmed working, you're done. Share the guest network name and password with visitors as needed. If you've recently added a new device to your home and want to make sure it's set up securely from the start, our guide on setting up a new device without the regrets walks through the key first steps.
Keeping Your Guest Network Secure Over Time
Setting up the guest network is a one-time task, but a little maintenance goes a long way. Change the guest password every few months, or whenever you know a large number of people have used it. This limits exposure if someone shares the password widely without your knowledge.
Weak Passwords Still Put You at Risk
A guest network with a simple or obvious password — like your address or "guest123" — offers little real protection. Anyone who guesses or shares the password gains access to your internet connection and could affect your speeds or security. Treat the guest password with the same seriousness as your main network.
Also revisit your router's firmware updates periodically — manufacturers release patches for security vulnerabilities that affect both your main and guest networks. If you're thinking about a broader hardware upgrade, be aware that faster gear doesn't automatically solve all problems; our article on home network upgrade pitfalls outlines the missteps worth avoiding before spending money.