Why Introductions Go Wrong - and What That Signals
Most introduction problems aren't caused by incompatible animals - they're caused by timelines that move faster than the animals can emotionally process. A resident pet has established a clear sense of territory, routine, and safety. A new animal arrives overwhelmed, disoriented, and without the social context it needs to feel secure. Pushing them together before either is ready triggers defensive responses that can harden into lasting conflict.
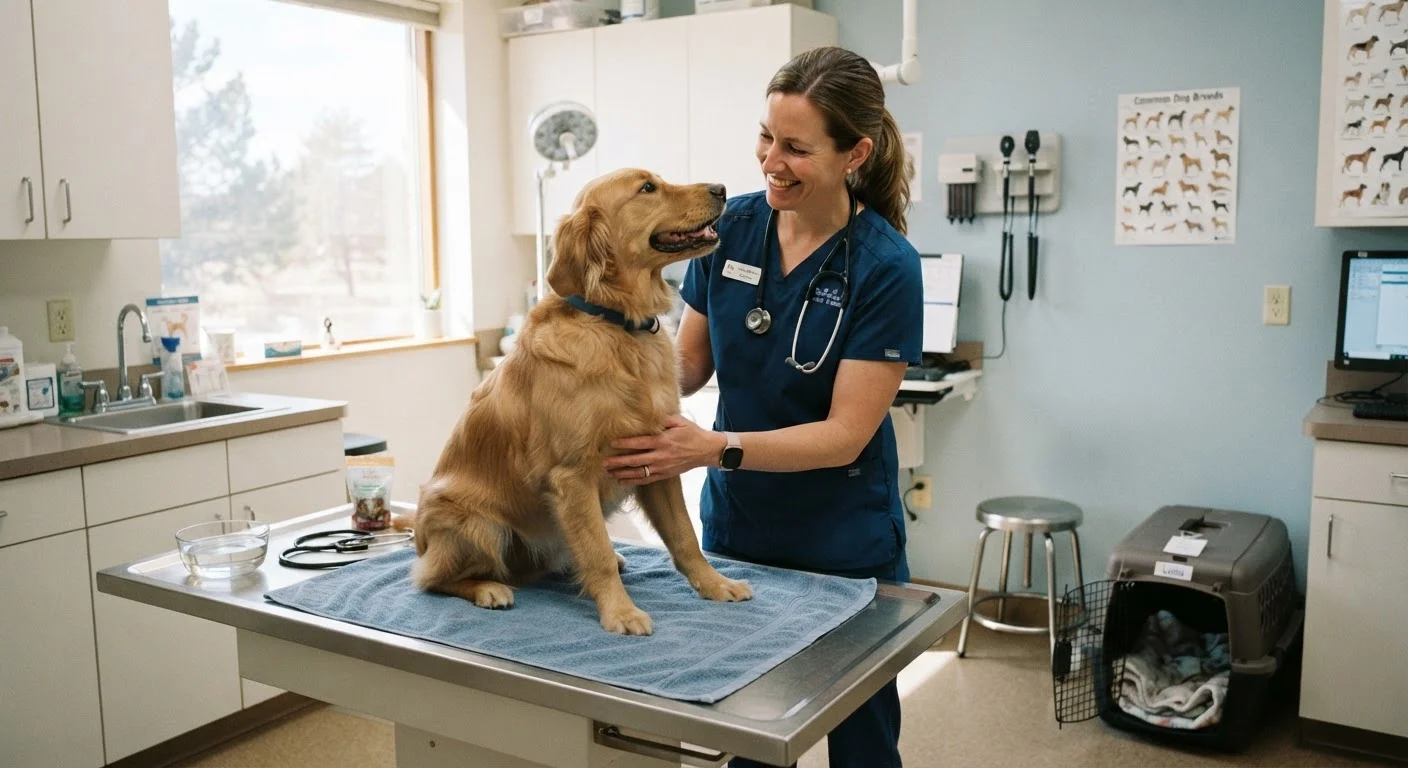
Understanding what each animal is communicating is the foundation of a successful introduction. Stress behaviors - hiding, refusing food, over-grooming in cats; pacing, whining, or hypervigilance in dogs - are meaningful data. They tell you to slow down, not push through. If either animal shows sudden behavioral changes that seem out of character, a veterinary evaluation should come before behavioral intervention, as discomfort or illness can amplify reactivity significantly.
The process outlined here applies broadly to cat-to-cat, dog-to-dog, and cat-to-dog introductions. Timelines will vary - some animals move through stages in days; others need weeks. Neither pace is a failure.
Never Force Physical Contact Between Animals
Physically pushing or carrying one animal toward another to 'get it over with' almost always produces fear or defensive aggression. Once a negative first impression forms, it can take weeks or months to undo. Let every approach happen on the animals' own terms, with a safe exit available at all times.
What You'll Need Before You Start
Preparation before the new animal arrives removes a significant source of chaos. Having the right setup in place means you're managing a structured process rather than reacting to problems as they emerge.
What you will need
Baby gate or pet barrier gate
Creates a visual and partial physical boundary during early face-to-face introductions while allowing scent and sound to pass freely.
Separate food and water bowls
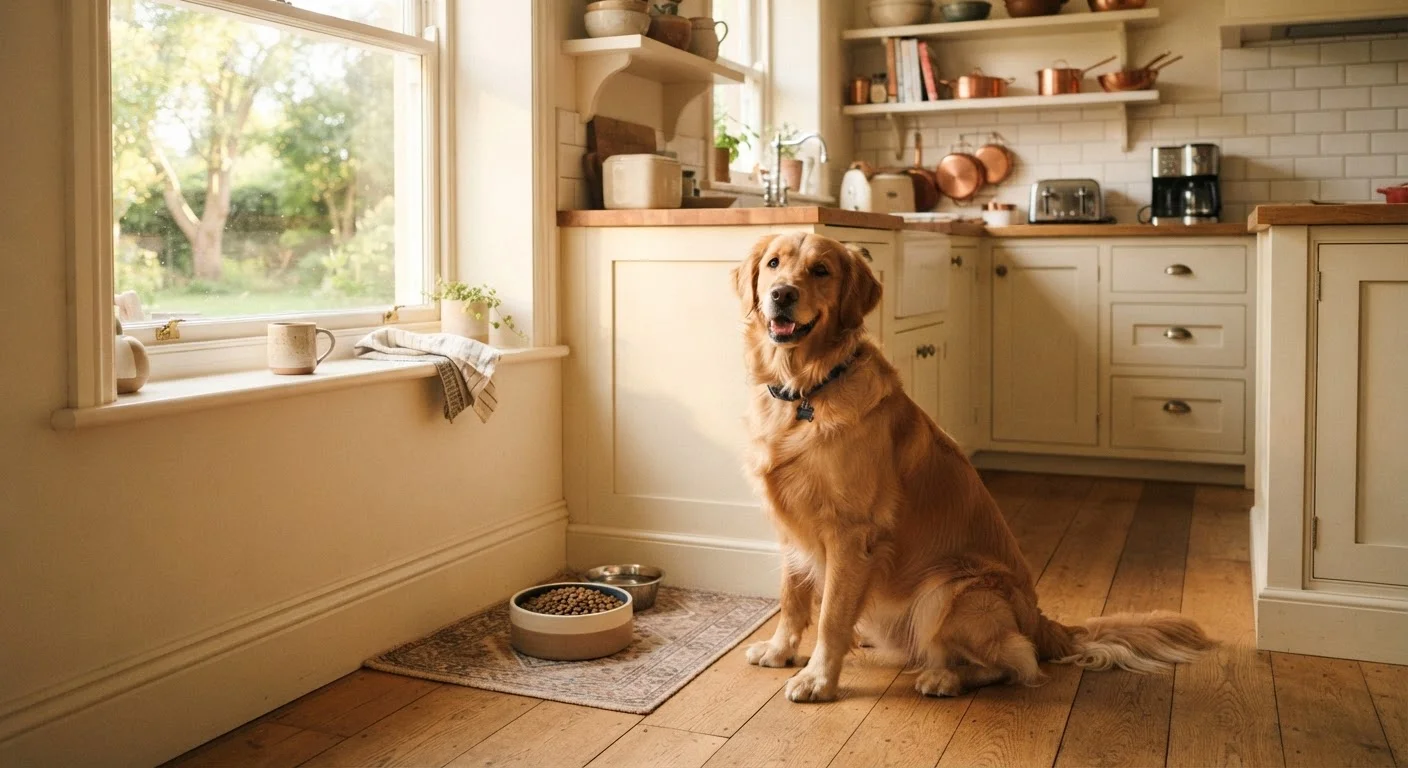
Ensures each animal eats in its own designated space to prevent resource guarding conflicts.
A dedicated 'base room' (spare room or bathroom)
Gives the new animal a safe, contained space to decompress during the initial adjustment days.
Clean cloth or sock for scent swapping
Used to transfer each animal's scent to the other's living space before any visual contact occurs.
Long leash or drag line (dogs)
Gives you gentle handling control during early supervised meetings without startling the dog.
High-value treats
Reinforces calm behavior during every stage of the introduction process.
Also check that the new pet is up to date on health basics. The new pet health checklist covers vaccinations, parasite prevention, and first veterinary visits - all of which matter before any animal joins a multi-pet home.
The Step-by-Step Introduction Process
Follow these steps in order. Skipping stages - especially the scent and barrier phases - removes the foundation that makes later face-to-face contact manageable. If tension appears at any point, return to the previous stage rather than pushing forward.
Set up a separate base room for the new pet
Before the new animal arrives, prepare a quiet room with everything it needs: food, water, a litter box (for cats), bedding, and a few enrichment items. Keep the door closed. This space serves as a decompression zone - a place where the newcomer can settle in, adjust to household smells and sounds, and feel safe without exposure to the resident pet.
Give both animals a day or two in this arrangement before moving to the next step. The resident animal will begin detecting the newcomer's scent naturally under the door, which is the first step in introduction.
Swap scents before any visual contact
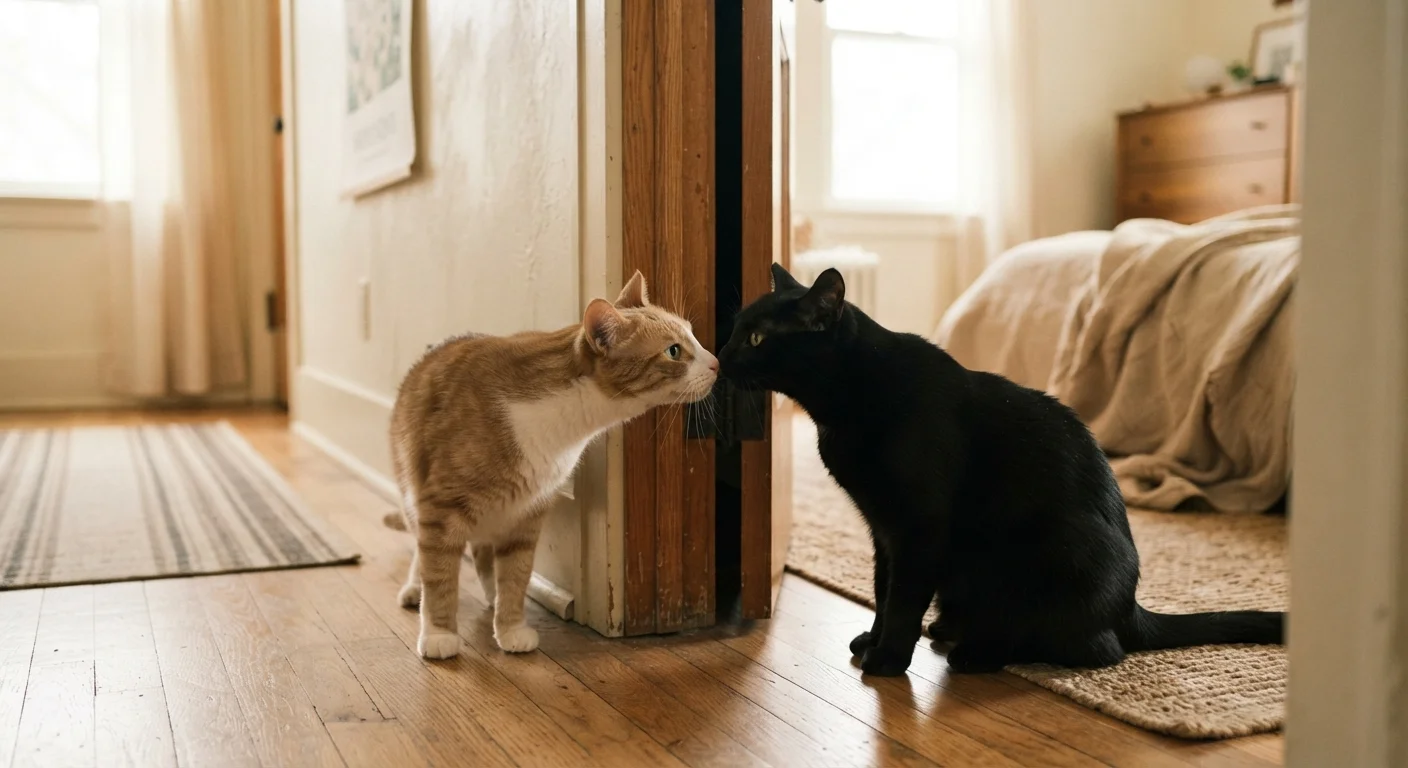
Take a clean cloth and gently rub it on the new animal's face and body, then place it near the resident pet's resting area. Do the same in reverse. This method, called scent swapping, lets each animal investigate the other's smell at their own pace with zero pressure.
Watch each animal's reaction. Relaxed sniffing, curiosity, or mild interest are positive signs. Hissing, growling, or avoidance means keep going with scent exposure before moving forward.
Introduce feeding on opposite sides of a closed door
Begin feeding both animals near the closed door of the base room, each on their own side, at the same time. The goal is to connect the other animal's scent and sounds with something pleasurable - eating. Start with bowls placed several feet from the door and move them progressively closer over multiple sessions as both animals remain relaxed.
If one animal refuses to eat or shows stress signals, the bowls are too close. Step back to the last comfortable distance and hold there for another day or two.
Allow visual contact through a barrier
Replace the closed door with a baby gate, cracked door, or exercise pen so both animals can see each other while still separated. Keep these sessions short - five to ten minutes is enough initially. Watch body language carefully.
Calm posture, loose muscles, and brief glances are good signs. Hard staring, stiff body, raised hackles, or prolonged hissing are signals to close the door again and take more time. Offer treats and calm praise to both animals throughout each session.
Begin supervised, shared-space meetings
Once both animals show relaxed body language during barrier sessions consistently, open the barrier and allow them into the same space - fully supervised. Keep dogs on a long drag line initially for gentle redirection if needed. Cats should always have vertical escape routes (cat trees, shelves) available.
Keep these first shared sessions brief and positive. End before tension builds rather than waiting to see how far things go. Gradually extend duration as both animals demonstrate comfort.
Expand shared access gradually and establish routines
As the animals become comfortable, allow access to more of the home together over time. Continue giving the resident animal extra one-on-one attention to reinforce that the newcomer has not displaced them. Establish consistent feeding, play, and rest routines - predictability helps both animals feel secure.
A structured daily routine does meaningful work in reducing anxiety and conflict long after introductions are complete.
Parallel Feeding Speeds Up Positive Associations
Feeding both animals on opposite sides of a closed door during the scent phase creates a positive emotional link - 'this new smell means I get to eat.' Gradually move the bowls closer to the door over several days as comfort increases. This technique is widely recommended by veterinary behaviorists for cat and dog introductions alike.
Growling or Lunging Means Stop Immediately
If either animal growls, snaps, lunges, or shows prolonged freezing during a meeting, calmly end the session without scolding. Punishment during intros creates a negative association that worsens tension. Separate the animals, give both time to decompress, and shorten the next session.
When Progress Stalls - and What to Do
Some pairs take longer than expected, and that's normal. If you've been patient, followed the stages, and animals still respond to each other with persistent aggression or extreme fear after several weeks, professional support is appropriate. A certified applied animal behaviorist or a veterinary behaviorist can assess the specific dynamic and recommend a more targeted intervention plan.
Persistent anxiety - in either pet - that doesn't resolve with time and routine may also warrant a closer look. Recognizing anxiety that goes beyond normal adjustment is an important skill for any multi-pet household. Building consistent structure around both animals is equally valuable long-term - see how predictable daily routines support calmer behavior across all your pets.
Patience, observation, and a willingness to move at the animals' pace - not your preferred schedule - are the qualities that make multi-pet introductions work. Most animals, given enough time and a structured process, can learn to share a home with reasonable comfort.